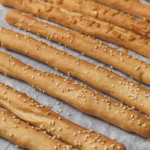
There are certain bakes that feel almost effortless, the kind you make once and then wonder how you ever lived without them. For me, breadsticks are exactly that. Simple, versatile, endlessly adaptable, and always welcome on the table. I make them often, not just because they’re easy, but because they fit into so many moments of everyday life. Whether it’s a casual snack, something to nibble on while chatting with friends, or a little extra alongside a spread of dips, breadsticks never feel out of place.
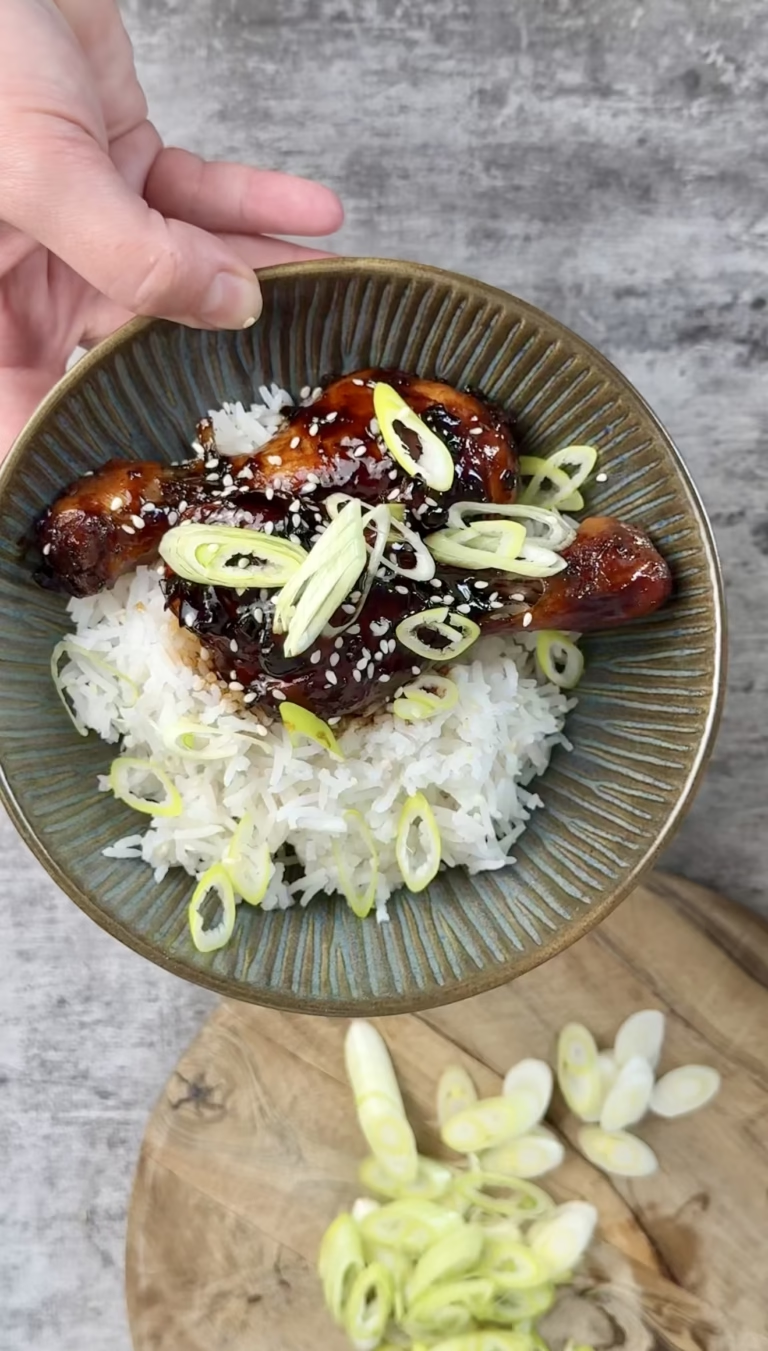
One of the main reasons I love making breadsticks is to pair them with humus. I genuinely love humus in all its forms—classic, roasted garlic, beetroot, lemony, extra tahini. Breadsticks and humus are a match made in heaven. The crisp exterior, soft interior, and subtle savoury flavour of a well-made breadstick is the perfect vehicle for scooping, dipping, or simply dragging through a generous bowl of humus. It’s simple food at its best, and that’s something I always come back to.
Breadsticks are also wonderfully forgiving. Unlike some bakes that demand precision, they invite creativity. Once you’ve got the base dough sorted, the rest is entirely up to you. You can keep them plain and let the flavour of good olive oil and salt shine through, or you can dress them up with whatever toppings you’re craving. Seeds, herbs, cheese, spices—almost anything works. That freedom is part of their charm and one of the reasons I make them so often.
I also love how perfect breadsticks are for guests. They feel thoughtful without being fussy. You can make a batch ahead of time, serve them in a jar or piled onto a board, and suddenly the table feels abundant and inviting. They’re ideal as a nibble while people arrive, something to munch on with a drink, or part of a larger spread. Paired with humus, olives, and maybe a few other small bites, they turn into a simple but deeply satisfying offering.
There’s something quietly nostalgic about breadsticks too. They remind me of relaxed gatherings, shared tables, and food that’s meant to be picked up and enjoyed without ceremony. They’re not showy, but they’re comforting and familiar, and that’s exactly what I love about them.
Tips and tricks for perfect homemade breadsticks
Even though breadsticks are easy, a few small tips can really elevate the final result.
Don’t rush the dough.
Giving the dough enough time to rest and rise makes a noticeable difference. A relaxed dough is easier to shape and results in breadsticks that are lighter inside rather than dense.
Roll them evenly.
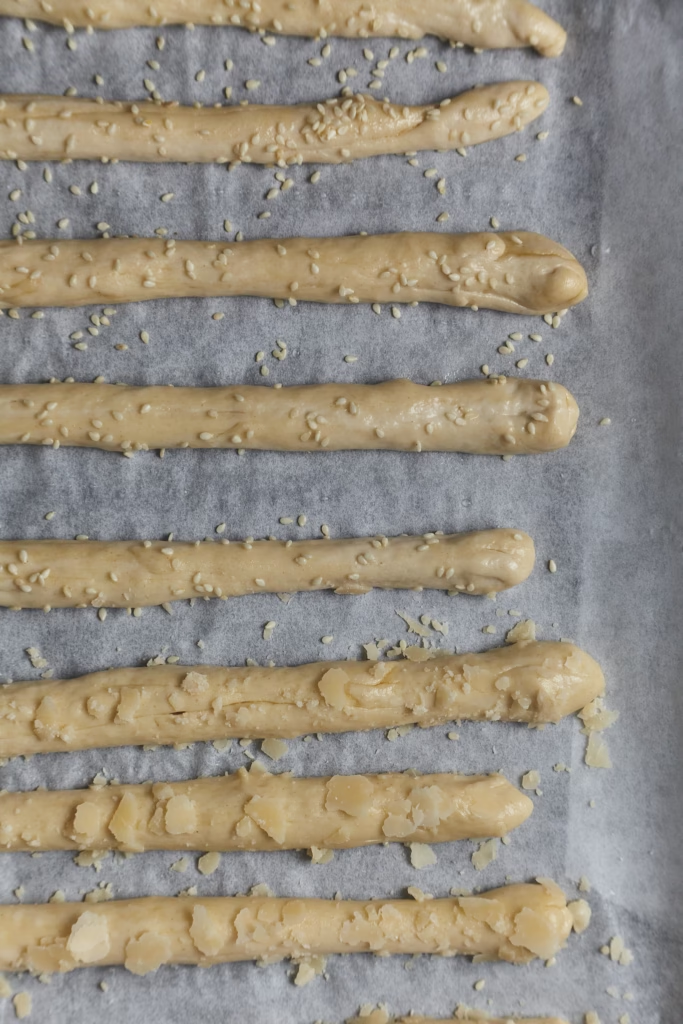
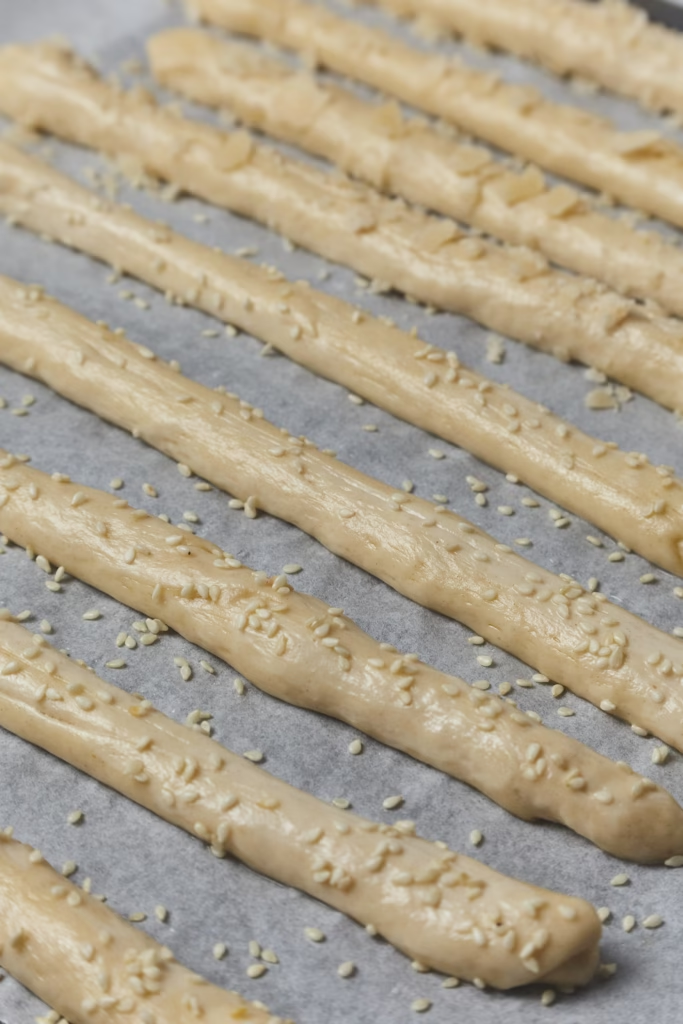
Try to keep the breadsticks roughly the same thickness so they bake evenly. Thinner sticks will be crispier, while slightly thicker ones will have a softer centre—both are delicious, but consistency helps.
Use good olive oil.
Because breadsticks are simple, the quality of your olive oil matters. A fruity, flavourful olive oil adds depth and richness that really shines through after baking.
Season generously.
Breadsticks need proper seasoning. Don’t be shy with salt, and remember that toppings like seeds or cheese also benefit from a light sprinkle of salt to bring everything together.
Get creative with toppings.
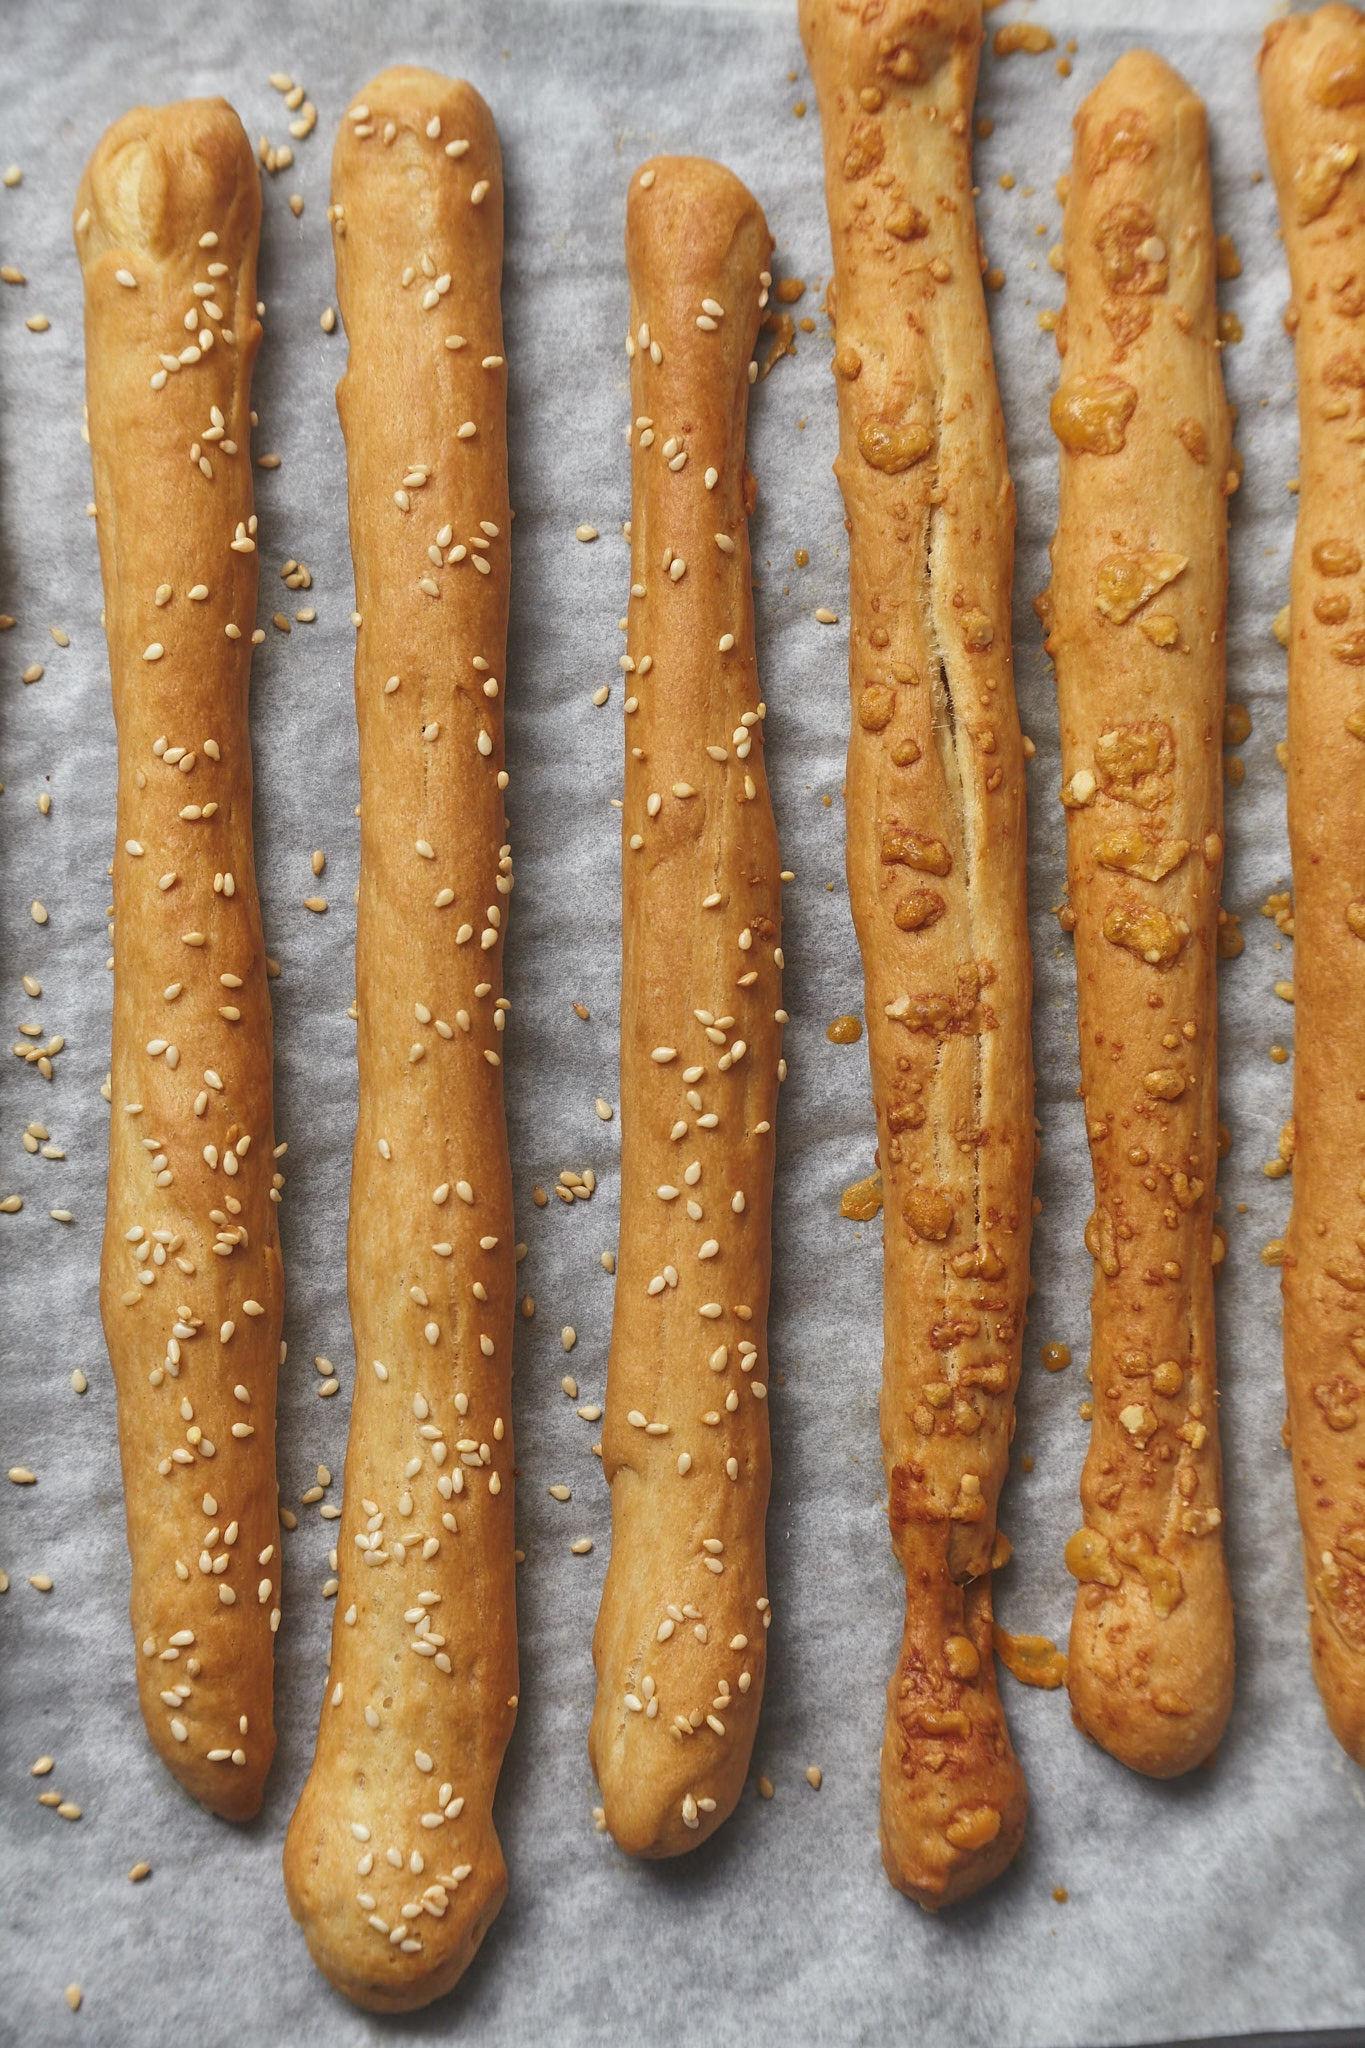
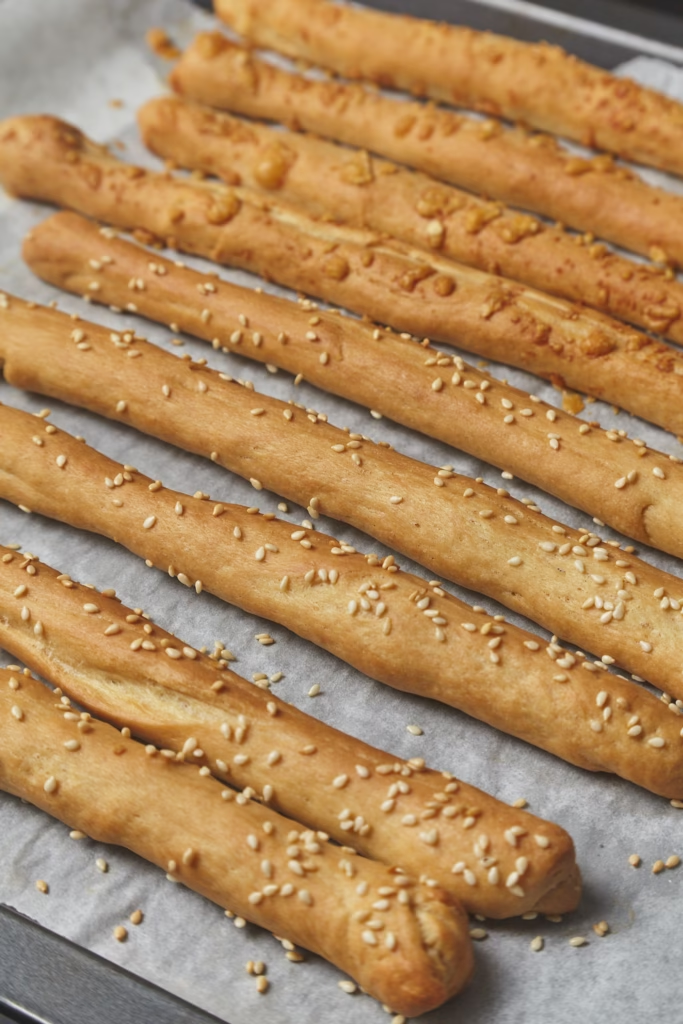
This is where breadsticks really shine. Sesame seeds, poppy seeds, dried herbs, chilli flakes, grated cheese, garlic all work beautifully. You can mix and match or make several variations from one batch.
Bake until golden, not pale.
Colour equals flavour. Let the breadsticks bake until they’re properly golden, especially at the edges. That’s where the best crunch and flavour develop.
Commonly asked questions about breadsticks
Are breadsticks meant to be soft or crunchy?
They can be either, depending on how thick you make them and how long you bake them. Thinner breadsticks baked a little longer will be crisp and crunchy, while thicker ones stay softer in the middle. I really like them crunchy so I bake them little bit longer.
Can I make breadsticks ahead of time?
Yes, and that’s one of their biggest advantages. Once baked and cooled, breadsticks keep well in an airtight container. They’re perfect for preparing in advance when you’re hosting.
What toppings work best on breadsticks?
Almost anything savoury works well. Seeds, herbs, spices, cheese, and even finely chopped olives can be added before baking. It’s a great way to use what you already have.
Do breadsticks go only with dips?
Not at all. While they pair beautifully with humus, they’re also great on their own as a snack or alongside soups, salads, or cheese boards.
Why are my breadsticks too hard?
Overbaking is usually the cause. Keep an eye on them towards the end of baking and remove them once they’re golden rather than dark brown.

Why I always make breadsticks
Breadsticks are one of those bakes I turn to again and again because they fit so seamlessly into my life. They’re quick, adaptable, and always appreciated. I love that I can change the toppings depending on my mood or what I have in the cupboard, and I love that they always pair beautifully with humus—my forever favourite dip.
They’re the kind of food that encourages sharing and grazing, the kind you put out on the table and watch slowly disappear as people talk, laugh, and reach for just one more. Whether I’m making them for guests or simply for myself as an easy snack, breadsticks never feel like an afterthought. They’re simple, yes, but they’re also deeply satisfying—and sometimes, that’s exactly what good food should be.
Breadsticks
Equipment
- standing mixer
- baking tray
Ingredients
- 190 g bread flour
- 1/2 tsp dried yeast
- 100 g lukewarm water
- 30 g olive oil (extra virgin)
- 15 g butter (melted, cooled)
- pinch of salt
- sea salt, sesame seeds, parmesan shavings (toppings)
Instructions
- Add all ingredients (apart from toppings) into a bowl of your standing mixer and knead a nice play dough like dough. Shape it into a ball, place it back in the bowl, cover with cling film or dump kitchen towel and let it rise for about 1,5 hours or until doubled in size.
- Once your dough has risen, separate it into chunks and roll little snakes. You can make them long and then cut them up for separate breadsticks or you can make more smaller balls and roll them into separate breadsticks, the choice is yours. If you will be doing them one by one I would encourage you to weight your balls so you get same size breadsticks.
- Pre-heat you oven to 180ºC. Once you have finished shaping your breadsticks and pace them onto your baking tray lined with baking paper, spray your breadsticks with some water and sprinkle toppings of your choice. You can also leave them as they are, no toppings necessary. Bake them in your pre-heated oven for about 15 mins. The longer you bake them the more crunchy they will be.

Leave a Reply